Mission Planner

This article provides basic guidelines for configuring telemetry and stream video by XBCamV2

Login

  • User Name

  • Password

  • Server: https://server.platform.xbstation.com:8007 (Default)

Note: Account is attached on your XBLinkbox. If you don't have account, please contact us.

Connect to Telemetry data

  1. Open Mission Planner, at the top-right, choose TCP type and Connect.

  1. Host name/ip: 127.0.0.1 (default)

  1. Remote port: 5760 (default) or 5761 (remember it must be same Telemetry Host Port in PilotApp)

For telemetry instructions and more information. Please click here!

Telemetry

Connect to Video Streaming

XBCamV2

  1. At the Video HUD area, Right Click -> Video -> GStreamer Stop as below instruction

Stop GStreamer
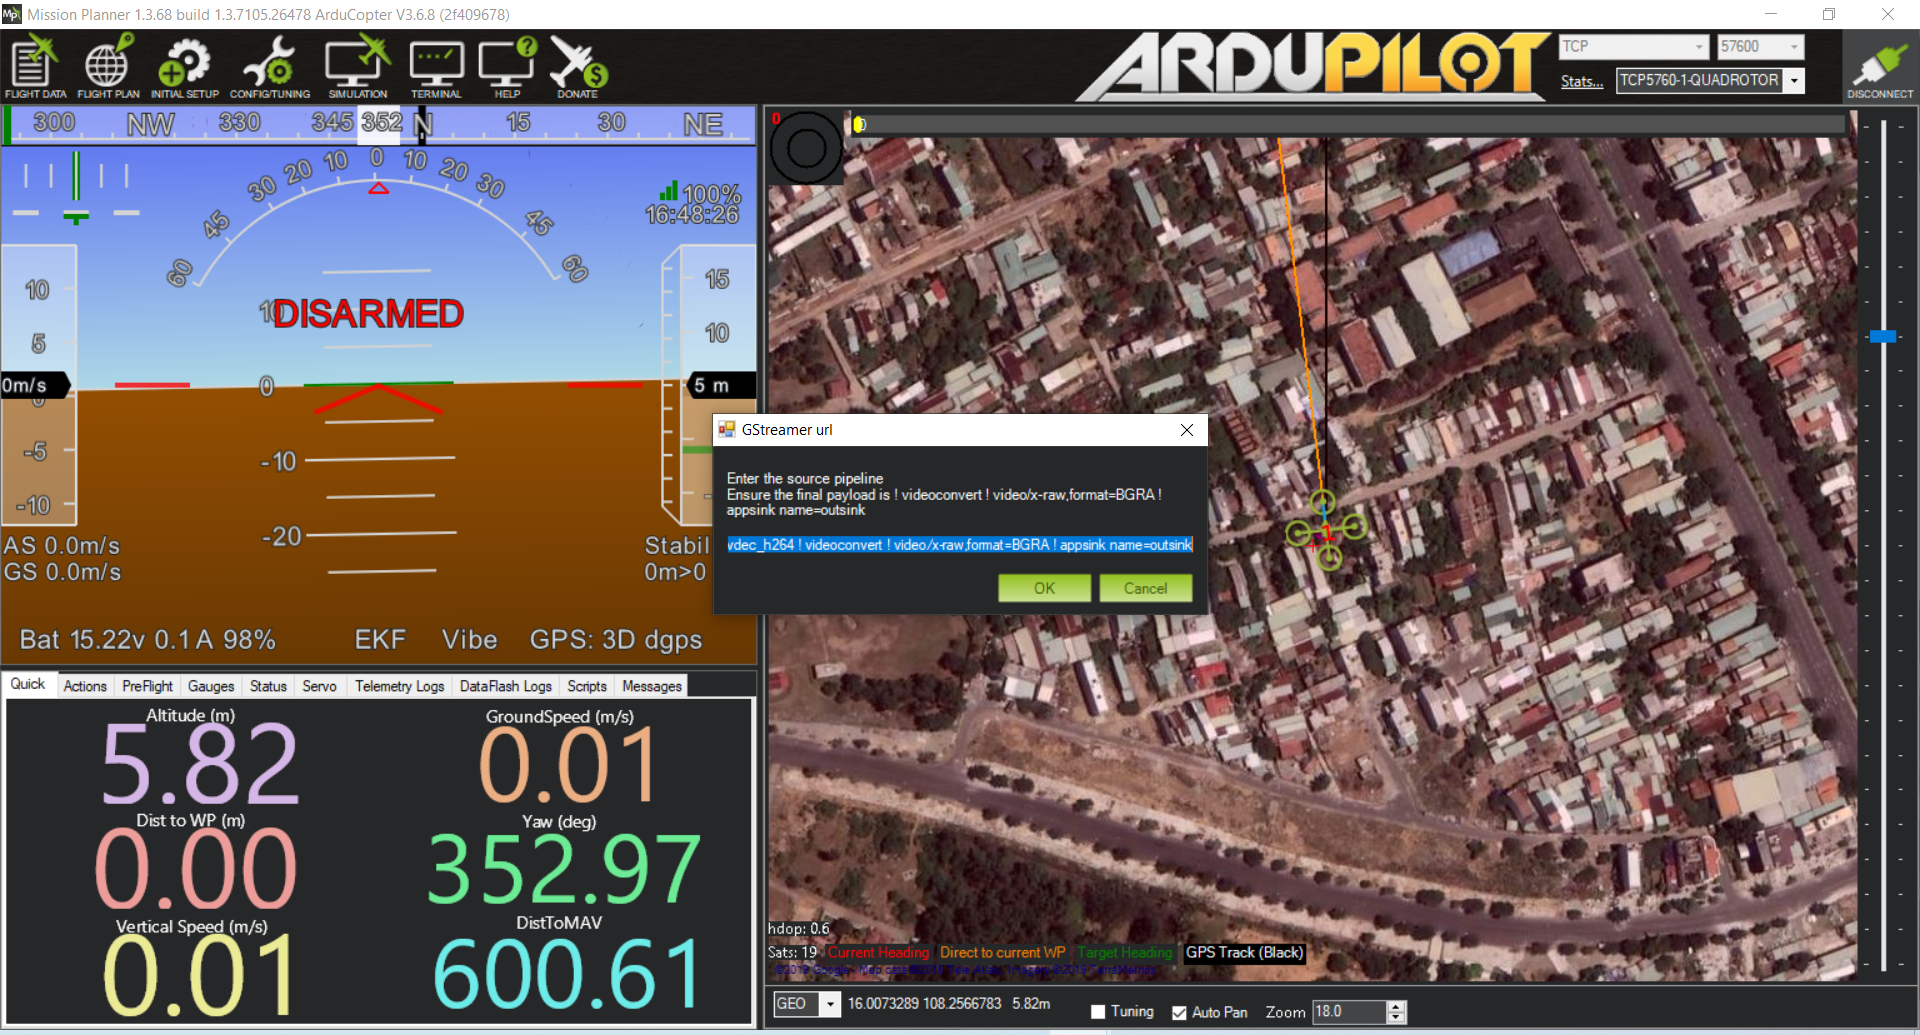
  1. At the Video HUD area, Right Click -> Video -> Set GStreamer source -> input GStreamer URL:

udpsrc port=5601 caps = "application/x-rtp, media=video, clock-rate=90000, encoding-name=H264, payload=96" ! rtpjitterbuffer ! rtph264depay ! avdec_h264 ! videoconvert ! video/x-raw,format=BGRA ! appsink name=outsink

udpsrc port=5601 caps = "application/x-rtp, media=video, clock-rate=90000, encoding-name=H264, payload=96" ! rtpjitterbuffer ! rtph264depay ! avdec_h264 ! videoconvert ! video/x-raw,format=BGRA ! appsink name=outsink

NOTE: udpsrc port=560x must be the same as PilotApp

NOTE: The GStreamer URL just need to input at the first time, MissionPlanner will auto save this params, the next run with MissionPlanner, you just Right Click -> Video -> Set GStreamer source -> and click OK to use video streaming

Mission Planner
Mission Planner

After the installation is complete, restart the MissionPlanner ground station to display the following interface.

Other Cameras

Let's explore more setup and advanced configuration of other cameras here!

Cameras and Gimbals

Video Tutorials

  • XBStationPilotApp - MissionPlanner: link

Let's explore the variety of features that XBLink supports here!

Advanced Configuration

Last updated

Was this helpful?