Other IP Cameras
This article describes how to set up and config Other IP Cameras with XBLink
The Other IP cameras which cadn communicate with XBLink via ethernet protocol to stream video.
Hardware Setup
We support 2 methods to connect it to XBLink as below
Method 1: Connect to ETH0 port's XBLink.

Method 2: Using USB to Ethernet Adapterr. (In case ETH0 port of XBLink is occupied)

Method 1: Connect to ETH0 port's XBLink
The simplest way to connect a IP Camera to XBLink is to use it's ETH0 port. You just need to plug in the wire according to the instructions below.

Finally, power up XBLink and a IP Camera.
Note: ETH port is ETH0 of XBLink Plus
Method 2: Using USBtoETH Adapter
If you are intending to use both the remote control and a IP Camera, we recommend that you use the USB to Ethernet Adapter to connect to the USB port of the XBLink
You can connect IP Camera to USB port of XBLink Plus via USB to Ethernet Adapter as below

Note: USB port is ETH1 of XBLink Plus
Finally, power up XBLink and a IP Camera.
Configuration
XBStationPilotApp
If you are using ETH0 Port's XBLink (method 1), please open XBStationPilotApp and configure as below:
Internet connection: TCP
Video Port: 5601
Video Source: Other IP CAM
Ethernet: eth0
Ip Address: Please fill out your IP address Camera (from document of IP Camera)
Pipeline: Please fill out your Pipeline Camera (from document of IP Camera)
The address format should be rtsp://<camera-ip-address>/<video-format>
Example with ZR10:
Ip Address: 192.168.144.25
Pipeline: rtsp://192.168.144.25:8554/main.264
TURN ON.

In case that you using USB Port( ETH1) to connect IP Camera (method 2), just change Ethernet section to eth1

Ground Station
QGroundControl
Open QGroundControl, Change Source section to UDP H.265 Video Stream or UDP H.264 Video Stream up to your IPCamera as below.


Mission Planner
At the Video HUD area, Right Click -> Video -> GStreamer Stop as below instruction

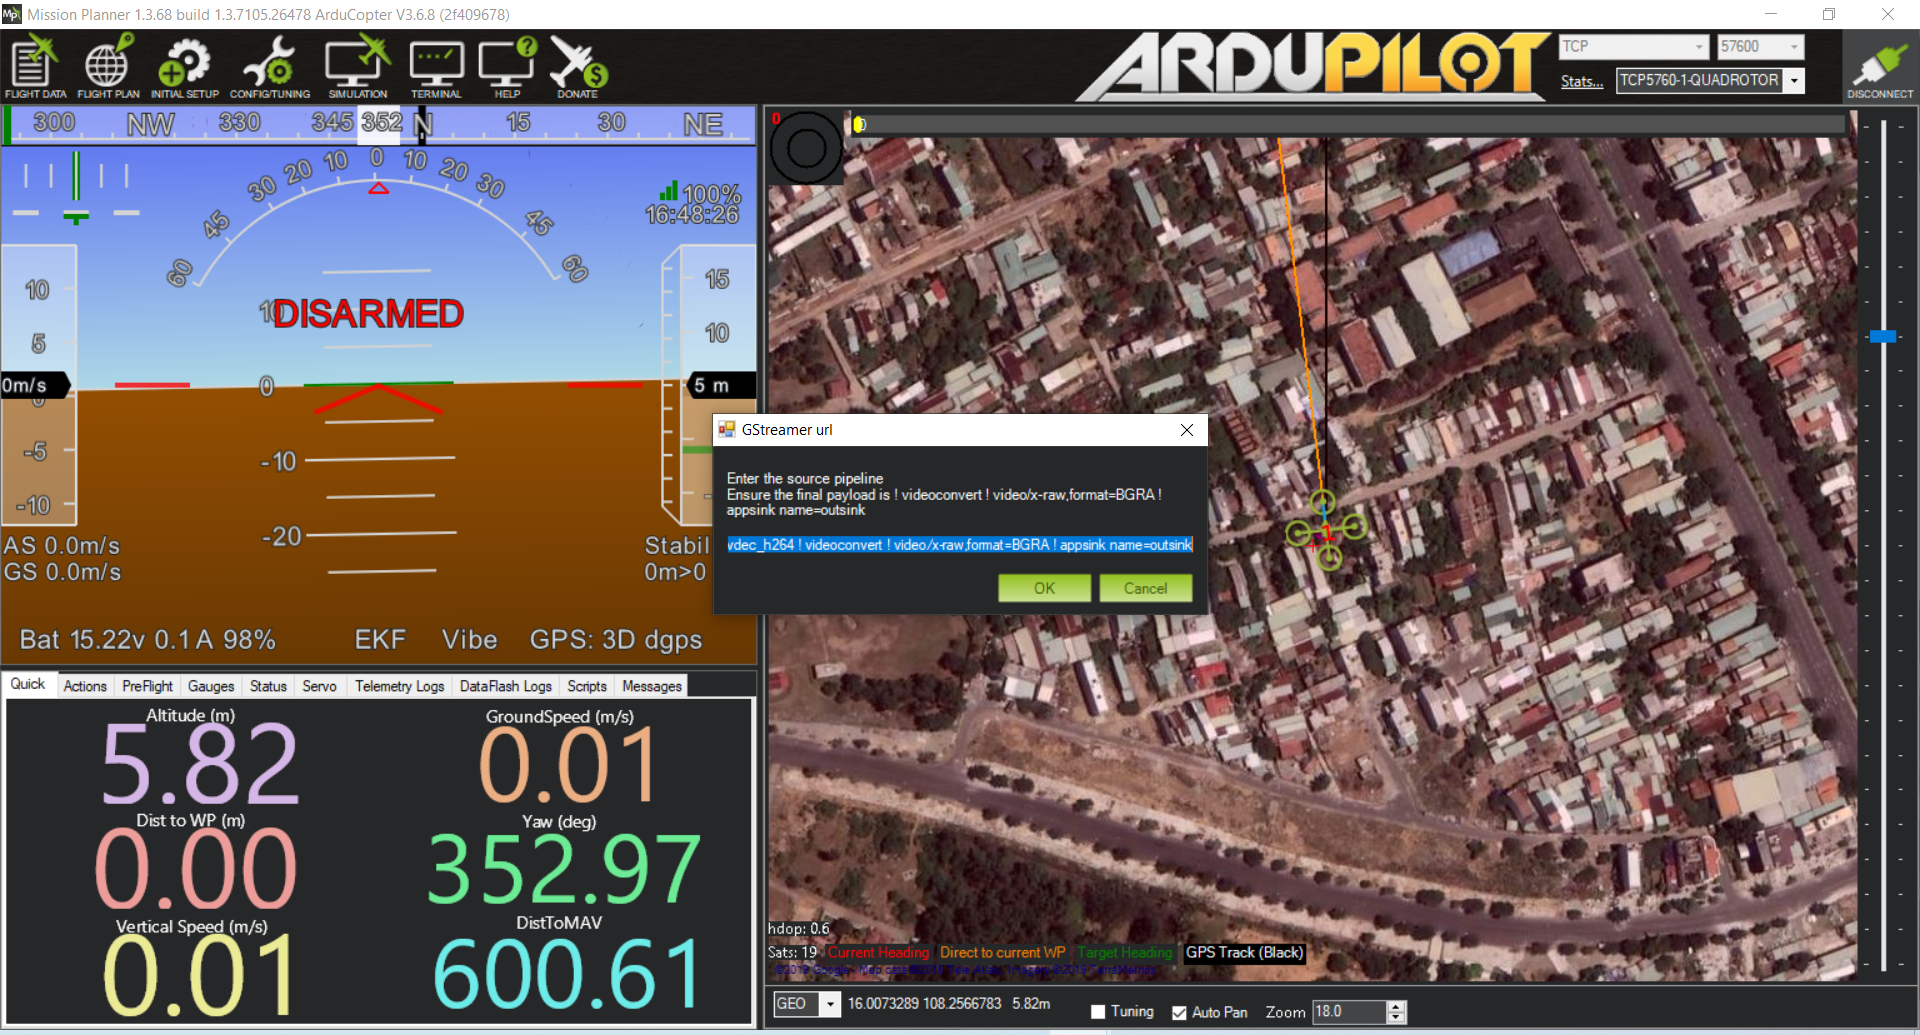
At the Video HUD area, Right Click -> Video -> Set GStreamer source -> input GStreamer URL:
udpsrc port=5601 caps = "application/x-rtp, media=video, clock-rate=90000, encoding-name=H264, payload=96" ! rtpjitterbuffer ! rtph264depay ! avdec_h264 ! videoconvert ! video/x-raw,format=BGRA ! appsink name=outsink
NOTE: udpsrc port=560x must be the same as PilotApp
NOTE: The GStreamer URL just need to input at the first time, Mission Planner will auto save this params, the next run with Mission Planner, you just Right Click -> Video -> Set GStreamer source -> and click OK to use video streaming

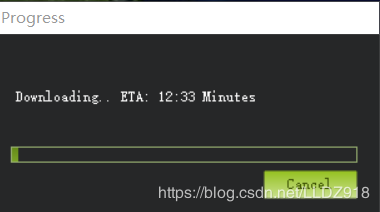
NOTE: Download and install the plugin (domestic environment download is slow, if it fails, please restart the Mission Planner ground station and try again)

After the installation is complete, restart the Mission Planner ground station to display the following interface.
Video tutorial
For more information see video as below
Last updated